TrueNAS Proxmox Backup Server

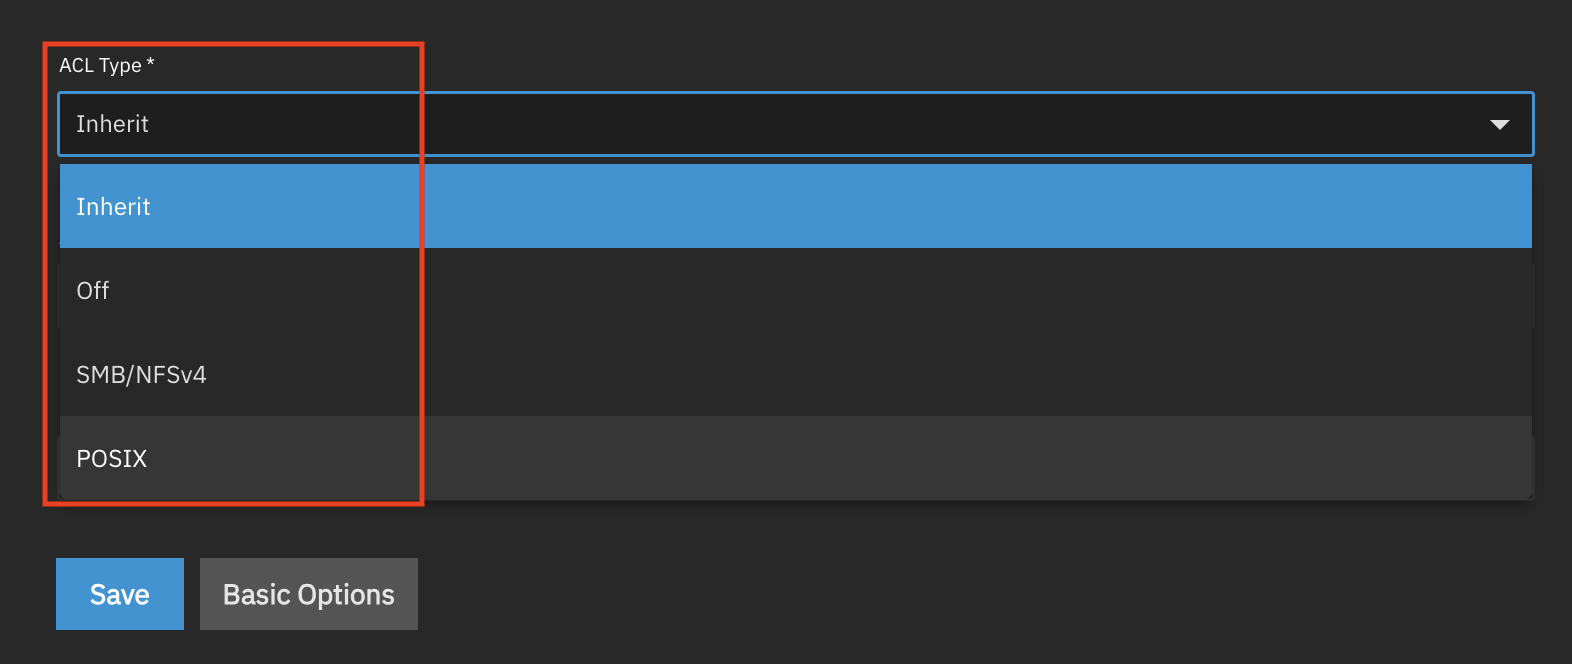
Create the Generic Dataset
We use a Generic dataset to avoid the complex locking mechanisms of SMB or NFS presets, which can interfere with how containers handle file ownership.
- Log in to your TrueNAS Web UI.
- Navigate to Datasets on the left sidebar.
- Select the parent dataset or pool where you want the backups to live.
- Click Add Dataset (top right).
- Name:
pbs-storage(or your preferred name). - Dataset Preset: Select Generic.
- Click Save.
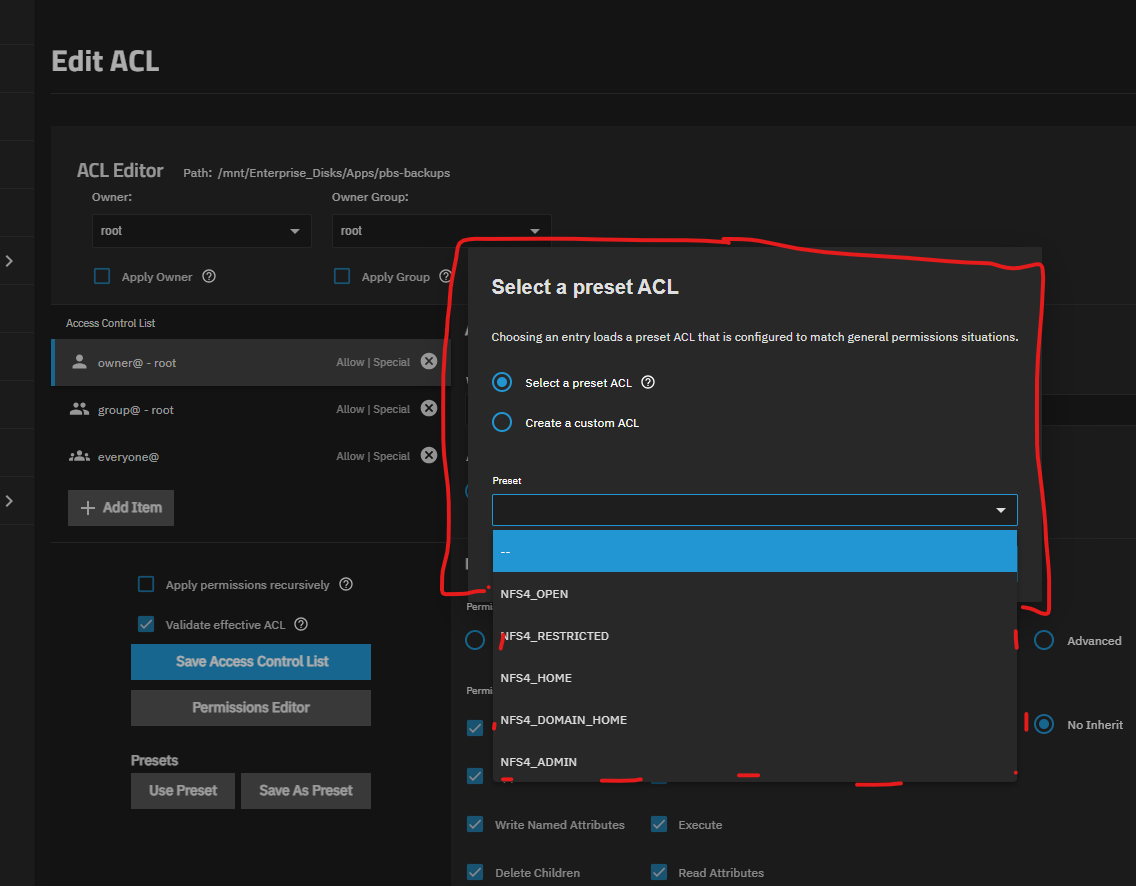
In TrueNAS Create the Subdirectory and Set ACLs
Working in a subdirectory prevents PBS from conflicting with any special folders and let’s set and limit user permission. We will perform this in the TrueNAS Shell.
- Go to System Settings → Shell or use SSH
- If using the web shell use
sudoof if you are notrootuser - Go into the new dataset
cd /mnt/tank/pbs-storage/ - Create the directory:
mkdir datastore1 - Set Backup Owner For Container
chown -R 2147000035:2147000035 datastore1 - Apply the Access ACL & Default ACL (Inheritance):
setfacl -m u:2147000035:rwx,d:u:2147000035:rwx datastore1
For Those Curious About Container User Mapping
In TrueNAS 25, the default mapping for unprivileged containers starts at 2147000001.
- Base ID: 2147000001 (This is the “Start” of the container’s world).
- Root (0) inside the container: 2147000001 + 0 = 2147000001 on the Host.
- Backup (34) inside the container: 2147000001 + 34 = 2147000035 on the Host.
- Standard User (1000) inside the container: 2147000001 + 1000 = 2147010001 on the Host.
| If you are… | ID in the Container | ID on the TrueNAS Host |
|---|---|---|
| Root User | 0 | 2147000001 |
| PBS Backup User | 34 | 2147000035 |
| Standard User | 1000 | 2147010001 |
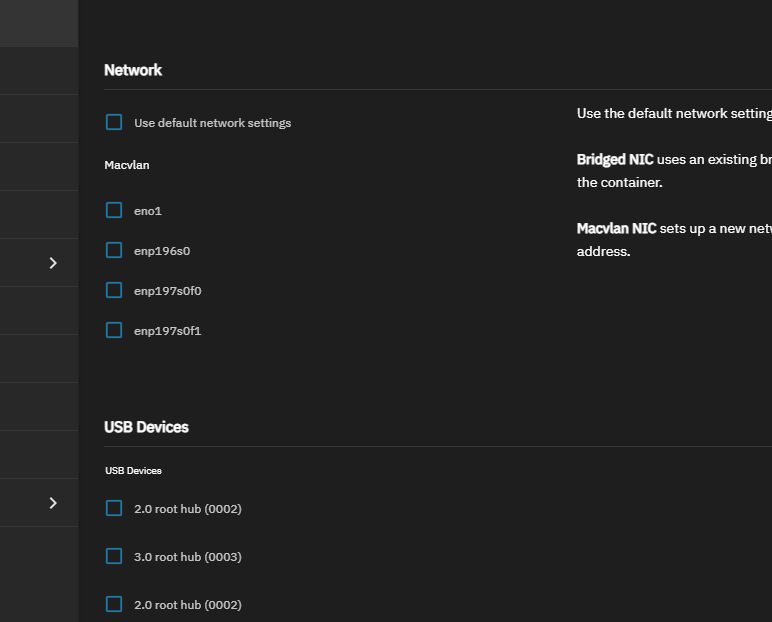
Create Debian 13 Container and Run this in the Container Shell
Optional: install bash completion
apt update && apt install -y bash-completion

cat << 'EOF' >> ~/.bashrc

# Enable bash completion
if ! shopt -oq posix; then
  if [ -f /usr/share/bash-completion/bash_completion ]; then
    . /usr/share/bash-completion/bash_completion
  elif [ -f /etc/bash_completion ]; then
    . /etc/bash_completion
  fi
fi
EOF
For the changes to take effect in your current session without logging out, run:
source .bashrc
Step 1: Set root password
passwd root
Step 2: Prepare the Debian Environment
Open the container shell:
apt update && apt upgrade -y
apt install -y wget curl gnupg2 ca-certificates
Step 3: Download Proxmox Key
wget https://enterprise.proxmox.com/debian/proxmox-release-trixie.gpg -O /etc/apt/trusted.gpg.d/proxmox-release-trixie.gpg
Step 4: Create the Repository File.
cat <<EOF > /etc/apt/sources.list.d/pbs-no-subscription.sources
Types: deb
URIs: http://download.proxmox.com/debian/pbs
Suites: trixie
Components: pbs-no-subscription
Signed-By: /etc/apt/trusted.gpg.d/proxmox-release-trixie.gpg
EOF
Step 5: Install Proxmox Backup Server
Trixie’s library versions are newer, so apt will handle the dependency resolution for the updated PBS packages.
apt update && apt upgrade
apt install -y proxmox-backup-server
Step 7: Web GUI Access
- Get the container IP
ip -4 -brief address show - Navigate to
https://<YOUR_CONTAINER_IP>:8007. - Ignore the SSL certificate warning (it’s self-signed for now).
- Login:
root/your_password/ Realm:Linux PAM.
If Needed Testing Permissions in Container
sudo -u backup touch /mnt/pbs/datastore1/testfile
If it works then remove the /mnt/pbs/datastore1/testfile
rm /mnt/pbs/datastore1/testfile